

You can get to the settings section by clicking on the “Settings” option left sidebar.
Welcome to the settings page. In this page you can see more details about your account’s information and edit the information as you wish.
You can browse between the sections of the settings on the menu that is shown on the right side of the screen.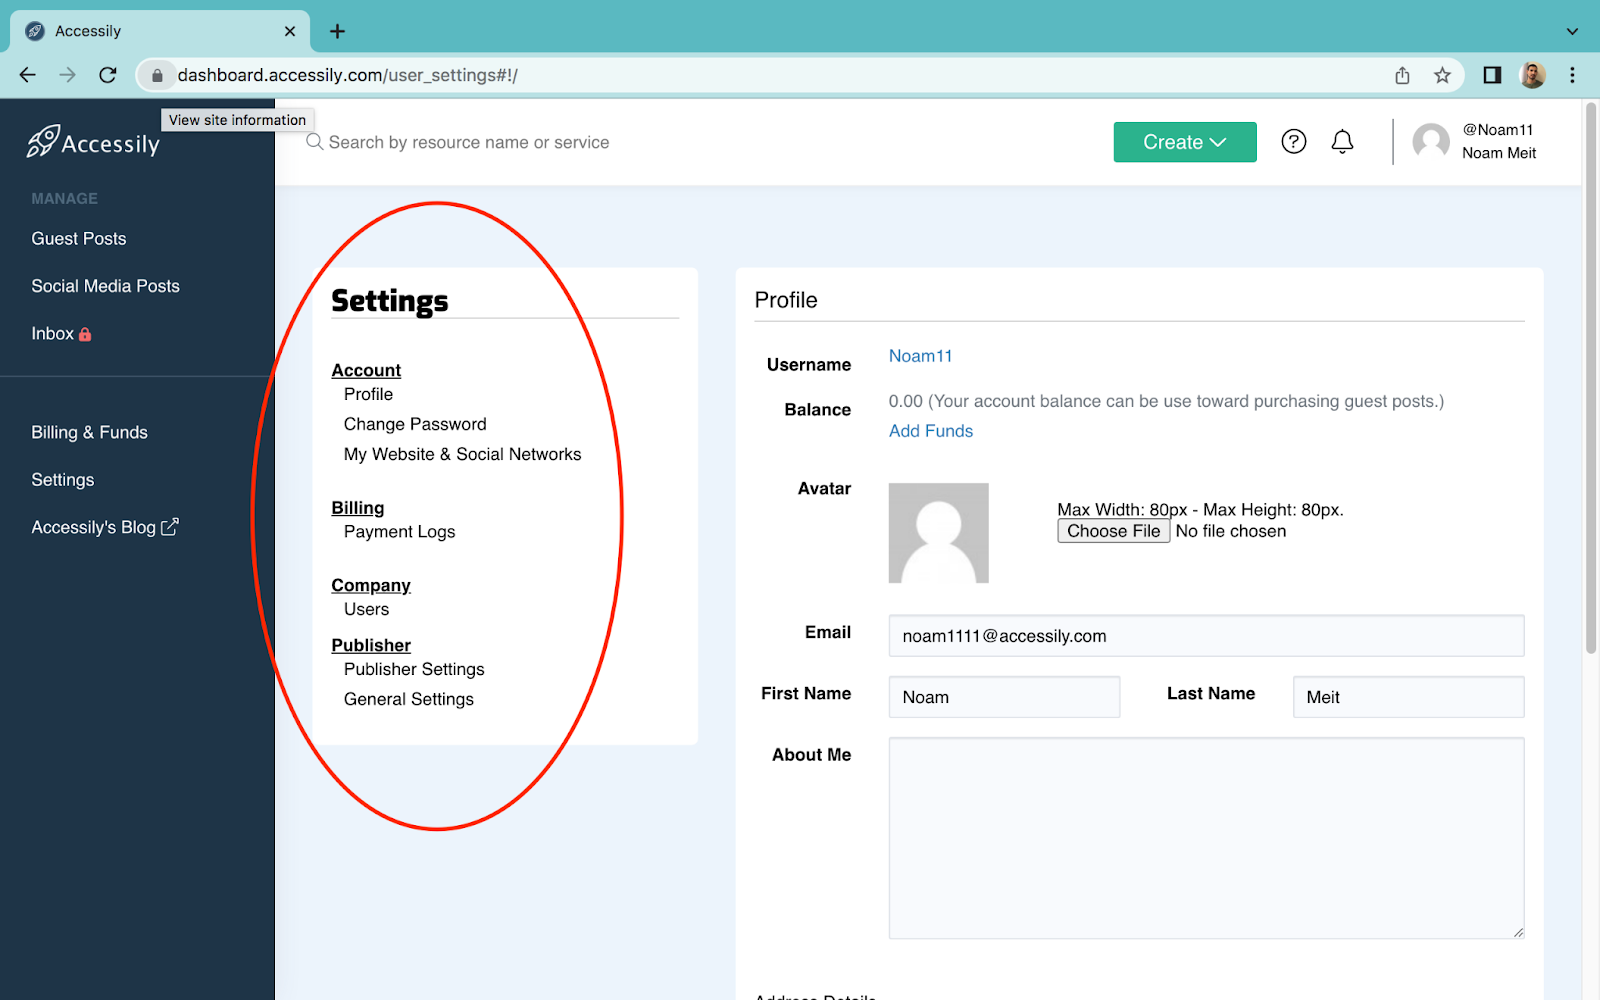
You can see the unused funds you have deposited/funds of orders that have been canceled, the funds can be used towards equal/lower price orders in the marketplace, in case you would like to purchase a slightly higher cost order you will need to deposit the missing amount.
Now, let’s elaborate on every section.
“Profile”– This is the default landing page of the “Settings” section, here you can edit your profile information including Name (First & Last), Email address, and invoice information at the bottom.
Also, you can add a bio, by filling in the box which says “About Me”.
– Please note you can allow/disallow email notifications & Allow/disallow profile comments, at the bottom of this page.
Once you have adjusted all of the settings, please click on the “Update Settings” option at the bottom.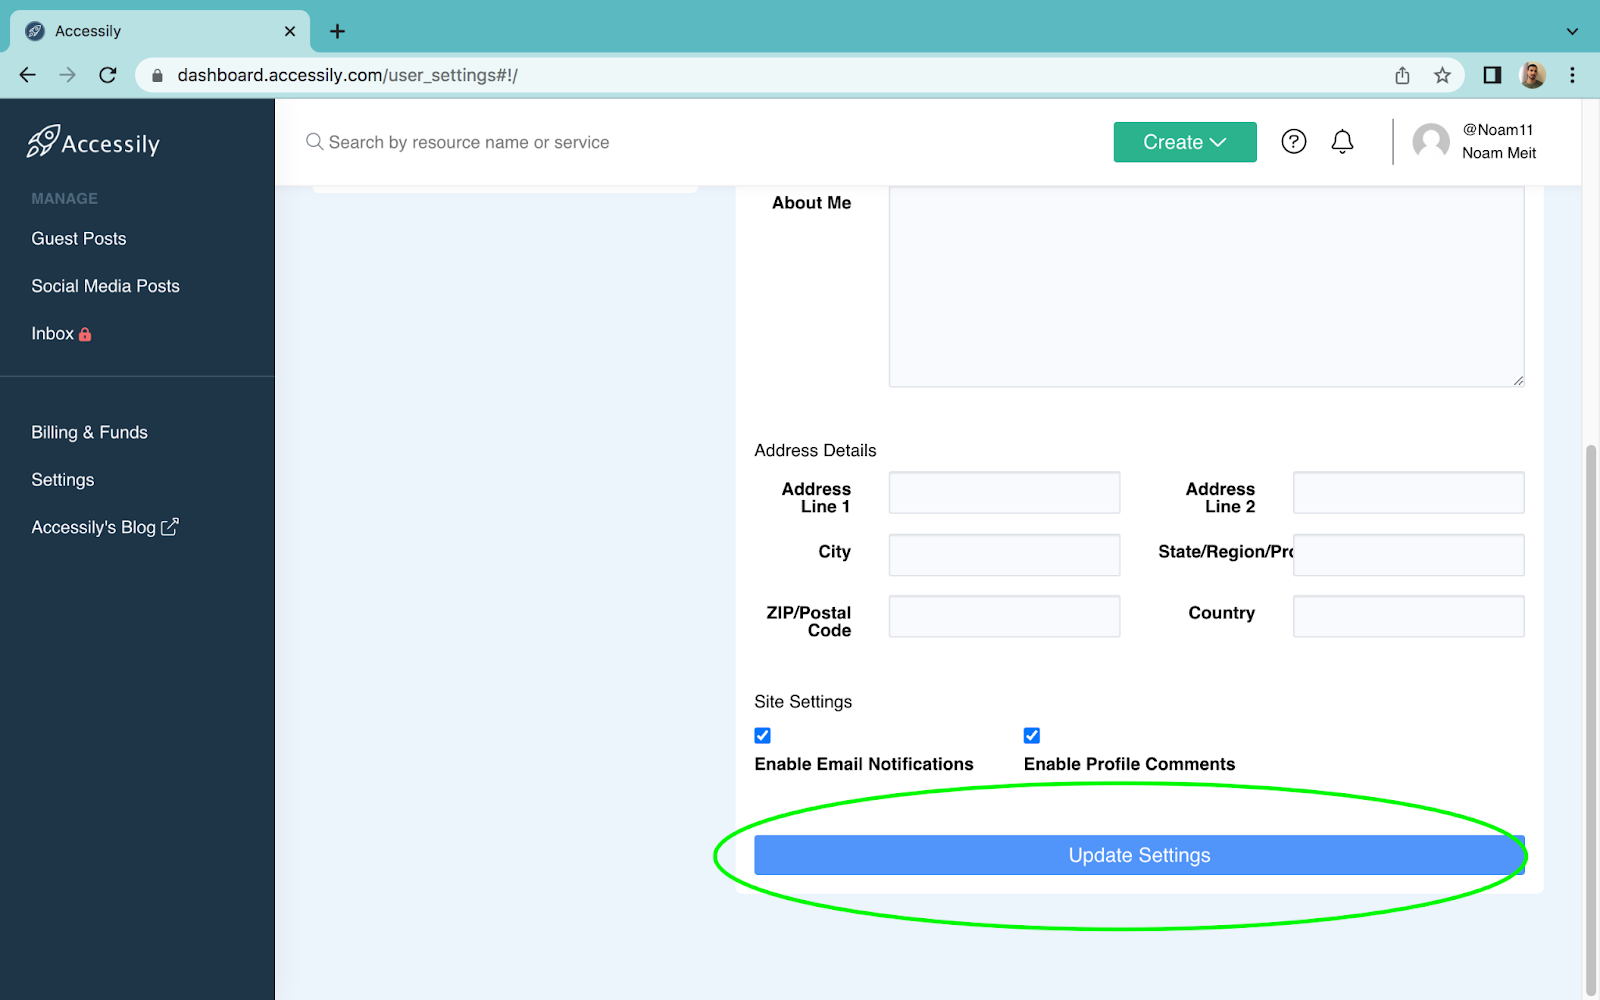
“Change Password”– Very simple, you can change your existing password right here.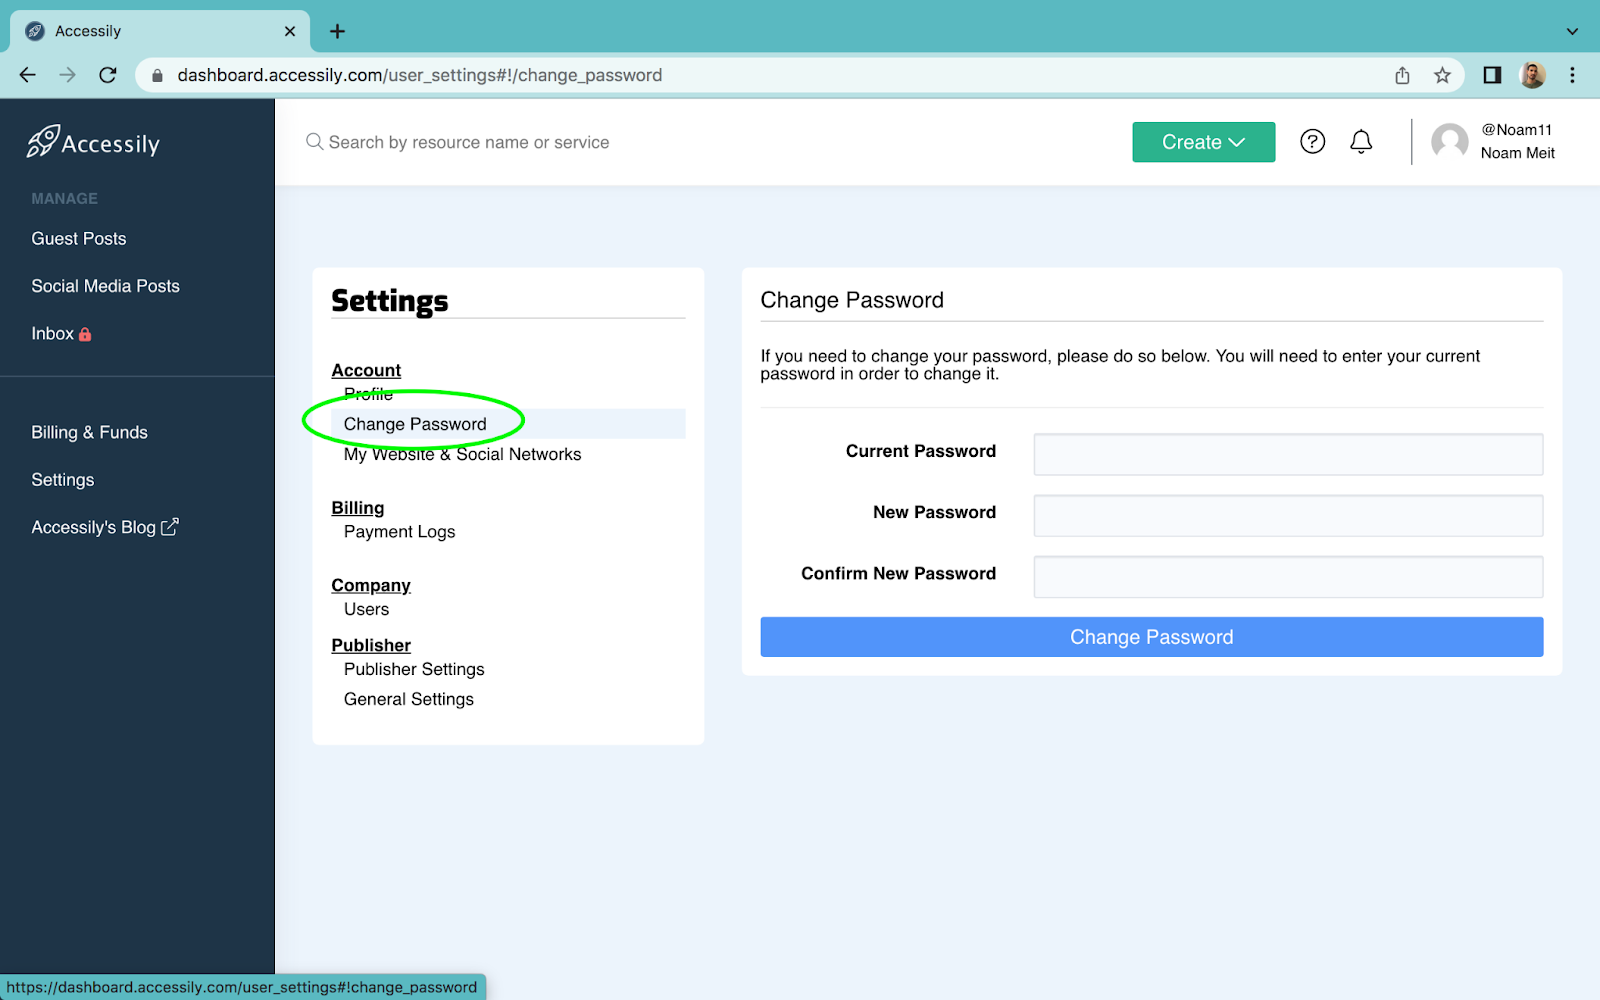
In order to change the existing password you will need to know what the existing one is, and enter twice the new password you would like to change to.
Once you have entered the new password twice, please click on “Update Settings”.
In case you do not know what your existing password is, log out from your account and Click on the “Forgotten Password?” option which can be found under the “Login” button.
“My Website & Social Networks”– In this section you can connect your Twitter & Linkedin accounts to the platform.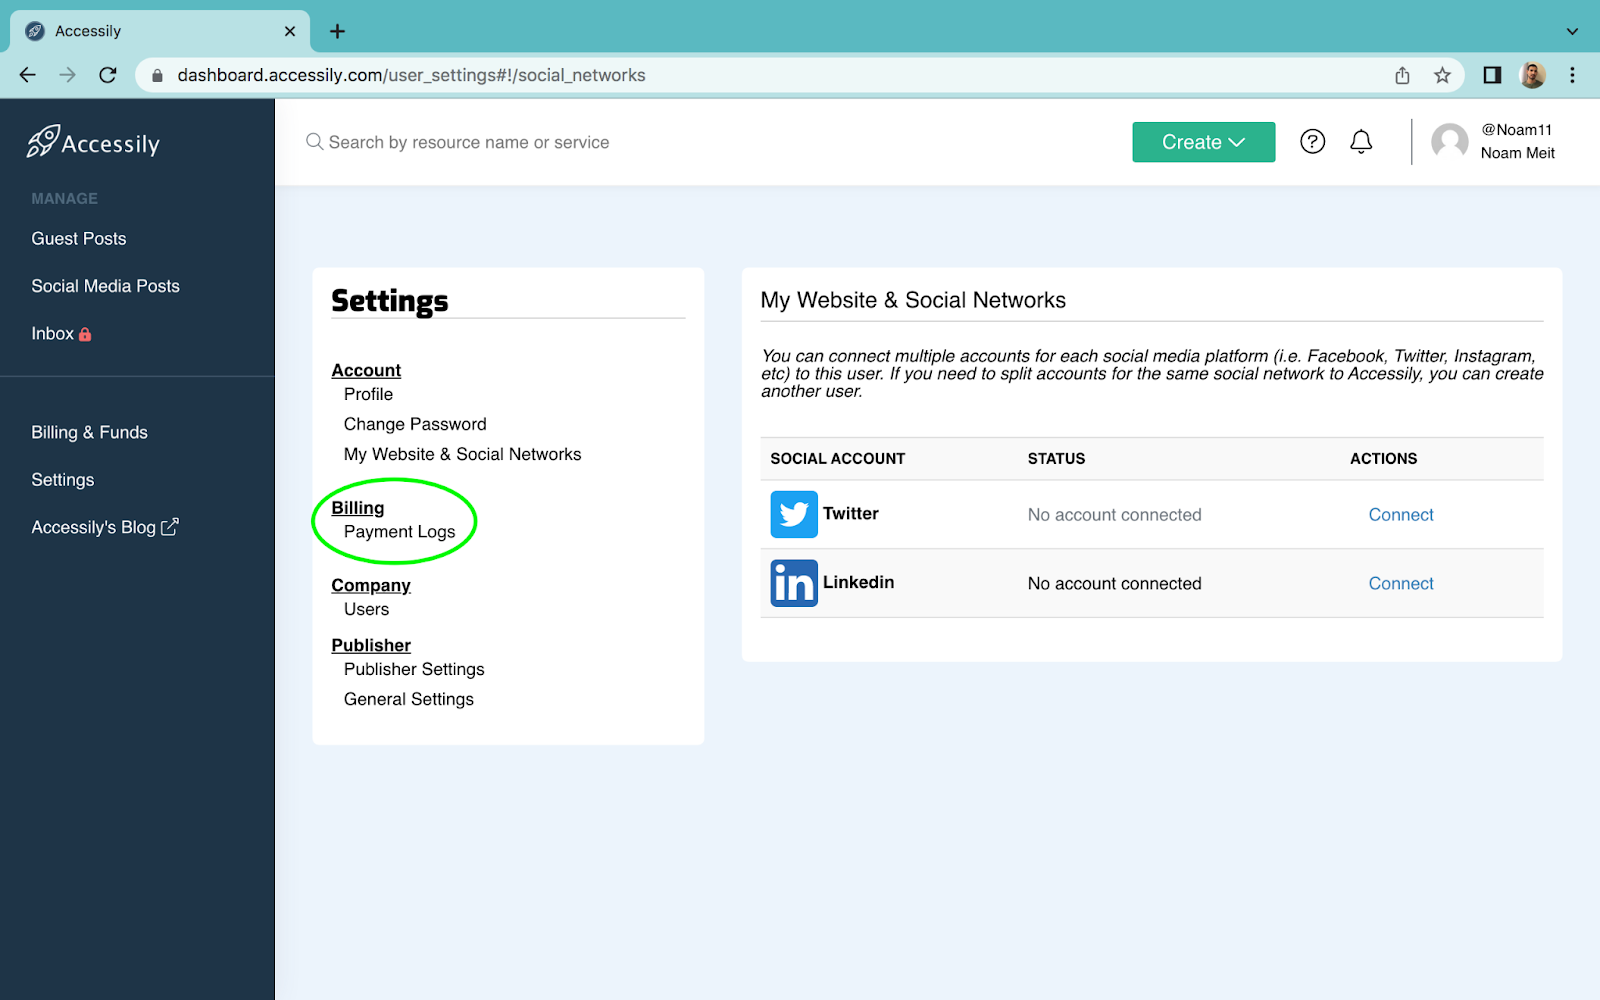
“Payment Logs”– The “Payment Logs” section will present the account’s payment record since the date you have opened your account.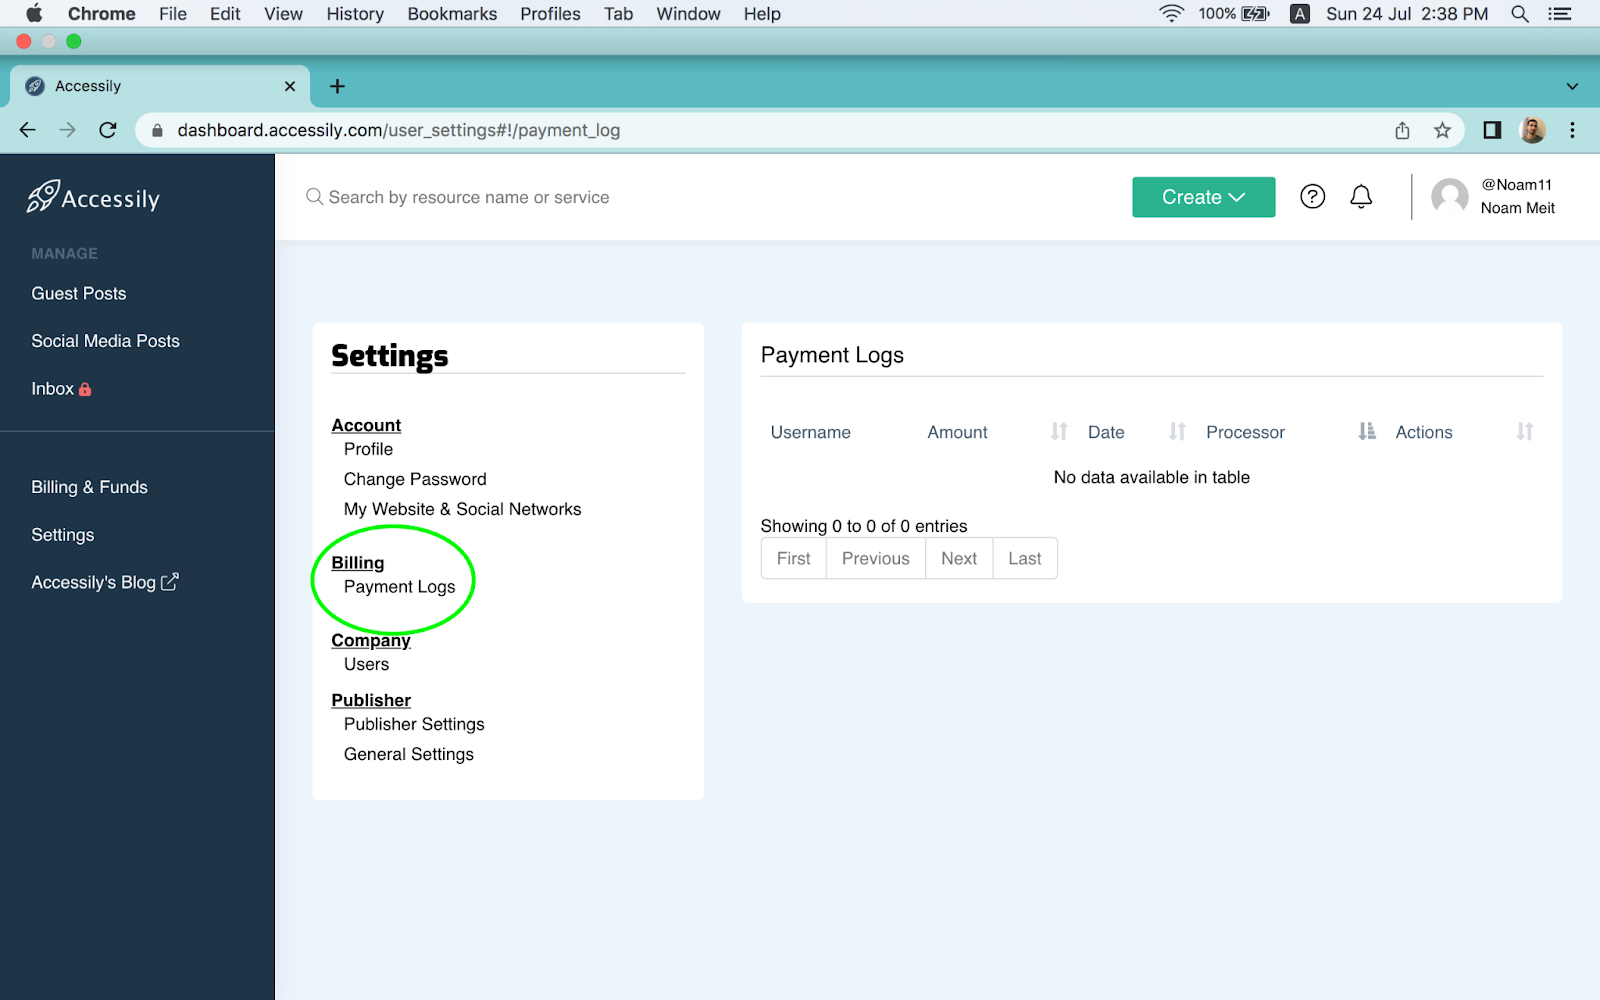
You can view and download the invoices of every payment you have made.
“Users”– Enables you to create new users, under your existing account.
Please note that all of the users will be registered under the main user’s email address, and can be only accessed from the main user.
In order to create a new user, you will need to select the “New User” option.
Then you will be able to fill in the name information (first & last name) and create a new username for the new user.
Creating multiple users could be relevant to you, if you run different businesses you are looking to promote by having separated “My Orders” sections that will help you to track orders, and be more organized.
Seller Related Settings
“Publisher Settings”- In this section you will be able to enter/change your PayPal address that will receive the payment against the orders you have fulfilled.
Please note in case you need to change the address, make sure you do it at least 24 hours before the payment date.
“General Settings”- Right here you will be able to turn on/off your content writing option, and adjust it according to your prefferation.
Settings Section Walkthrough
25
Apr